Connect a Repo
This section connects a GitHub repo to Testspace — useful if your team wants specs and CI results living in git, with spaces created and tracked automatically per branch. It builds on the account created in Setup; you don't need a separate Testspace account, just a new project.
There are three steps required:
- Install the Testspace App on your account
- Create a
testspace.getting-startedrepo on your GitHub account - Create a Testspace project associated with the repo
Install
Connecting a GitHub repo requires linking GitHub to your Testspace organization — it's what lets Testspace read repo/branch activity and post status checks.
You already have a Testspace organization from Setup, so connect GitHub to that same organization rather than installing fresh:
- Select the
Accounttab at the top right of your organization's project listing - Select the
Servicessub-tab - Select
GitHuband follow the prompts to connect
See Services for the full connection details, including what to do if you're a member rather than the organization's owner.
Signing up for Testspace directly via the GitHub Marketplace instead of email creates a new, separate Testspace organization matching your GitHub org — a different starting point than this tutorial, and not what you want if you already have an account from Setup.
Invite Others
Once GitHub is connected, it's easy to invite other members of that GitHub organization to your Testspace organization:
- At the Testspace Organization level, select the
Userstab. - Click the
Invite Usersbutton at the upper right of the page. - A list of all GitHub organization members will be presented.
- Select the members to invite and click on "SUBMIT".
For more Testspace account admin information click here.
Tutorial Repo
The GitHub getting started repo includes (i) a CI workflow file used to publish automated test results and (ii) a set of Test Specs used for manual execution.
The repo can be forked or created.
If you fork, you are required to enable both Actions and Issues in the new repo.
Fork Repo
After forking the repo, make sure to go to your forked repo settings and update the following:
- Enable Workflows. When a repository is forked, the GitHub Actions for automation has to be manually enabled.
- Enable Issues. Issues will be required to be
enabled, allowing Issues to be auto-generated by Testspace when a Manual test case fails.
Forked Repos require the settings to be updated.
Create Repo
To create your repo, based on testspace.getting-started repo, use the following instructions:
- Create an empty repo using the GitHub UI - assumed name
testspace.getting-started - Pull a copy of your newly created repo. Make sure to replace
USER-NAME.git init
git remote add origin https://github.com/USER-NAME/testspace.getting-started.git
git pull https://github.com/testspace-com/testspace.getting-started.git
git branch -M main
git push -u origin main
Tutorial Project
After the repo has been created and updated, login into your Testspace account. You will now create a Testspace project referencing the newly created GitHub repo.
To create a Testspace project click on the "New Project" button at the top right of the Testspace landing page. A dialog will appear listing all of the Repositories available. Select the name of the newly created GitHub repo (i.e. "testspace.getting-started") and press OK.

The your-github-org:testspace.getting-started project is now ready to be used for testing. The main space in the project is accessible by clicking the project that you created.
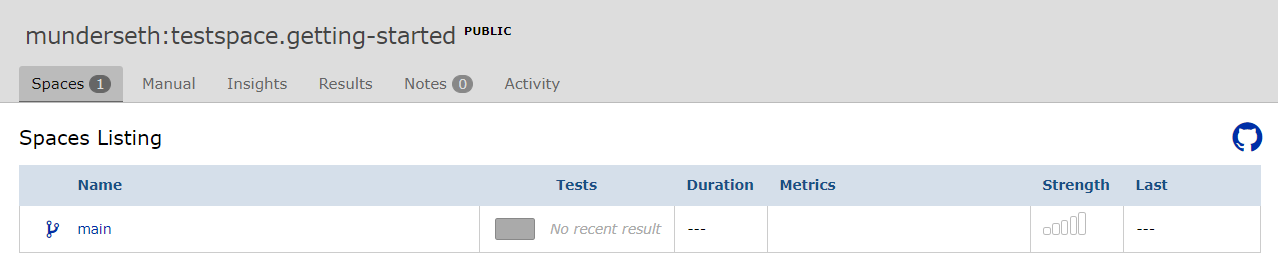
When clicking on the main space you should see empty results:

Recap
At this point, a new Testspace project has been created and connected to a new GitHub repo. Unlike the Standalone project from Setup, spaces here are created and deleted automatically as branches come and go, and pull requests are tracked — see Publish via CI to see it in action.