Session
So far, in this tutorial we have
- published pre-canned results to a Standalone project
- written and executed a new test spec from scratch
- learned how to reference issues from failing tests
A Test Session is the vehicle used for more formally running manual tests in Testspace. A session is defined as a collection of one or more individual specs to be executed.
A good process practice is to create a new session for each build being tested.
Now let's explicitly create a Test Session.
New
In Testspace, click on the main space of the project created in Setup. Next, select the Manual tab to display a listing of all available specs.
Select the checkbox next to Name. All of the specs will be highlighted by default.
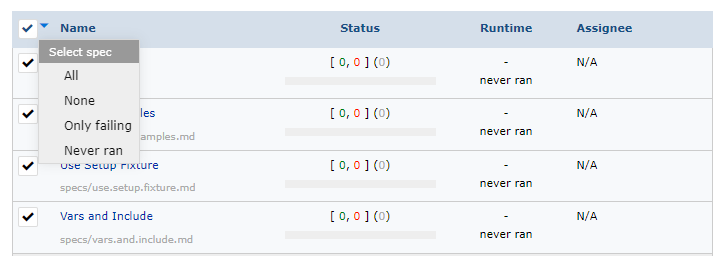
Click on the New Test Session button.
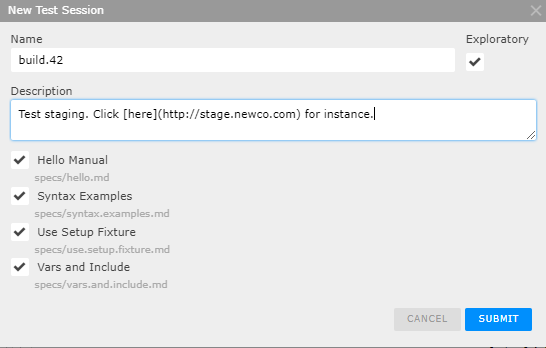
From the New Test Session dialog:
- Add a name for the session - e.g.
build.42 - Add an optional description (e.g.
Test staging. Click [here](http://stage.newco.com) for instance) - Click on
Select all - Select
SUBMIT
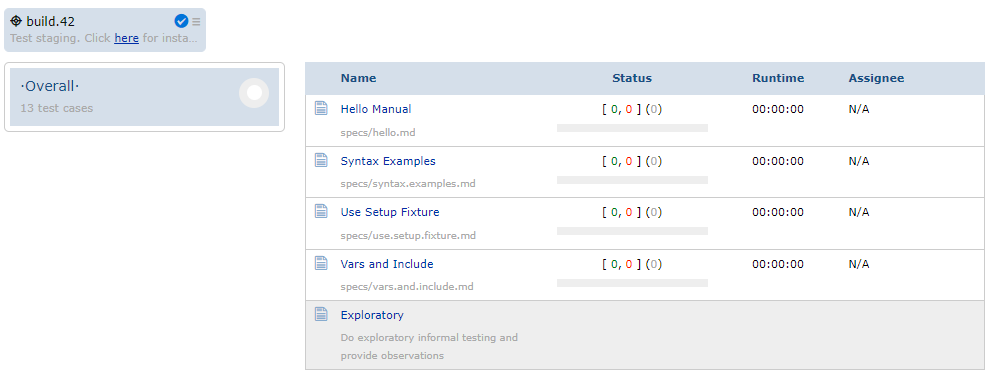
Upon creation of the new session, by default, the session is highlighted as active. Only the Test Specs selected for this "new" session are listed. In this example we selected all of the Test Specs.
Run
Each Test Spec is executed as an individual unit. Specs can be executed multiple times in the context of a Test Session.
Complete
Once the selected Spec(s) have been executed, the session can be completed. This is done by clicking on the blue check icon in the test session box.

- Completing a Test Session removes the active session from the
Manualtab. - Once a session has been completed no additional updates can be made.
Recap
This section covered creating Test Sessions:
- Test Session are used to organize testing often based on a new software build
- The same Spec can be executed multiple times in the context of a Test Session
- Once a Test Session is closed it can not be changed